It’s the typical story of a basement renovation.
You’ve carefully chosen your wall colour, your flooring, and the furniture. You’ve even picked out all the decorative accessories according to the look you’re going for (even the little hook behind the door that no one ever sees), but, like most people, you forgot to think about the ceiling (oops!). However, some beautiful tiles would give a basement so much character… and it isn’t like the choices are lacking nowadays! In terms of ceiling tiles, the great variety makes it east to match any style. Suspended or fixed, square or rectangular, with or without a pattern… there are even tiles that you can paint! Cool, right?
From now on, there’s no excuse to ignore the ceiling!
How to install a suspended ceiling?
This suspended ceiling adds a classic touch to this modern decor, and as a bonus, it allows for quick access to the plumbing and electrical wiring if necessary. We love the idea! Here’s how to install this ceiling in your home in just six simple steps!
The essentials
- Qautro suspended ceiling tiles, Encore n° PANQ22E-White model
- Suspended ceiling rail system
- 1 1/4 in gypse screws
- Level
- Drill
- Tape measure
- 16 caliber iron wire
- Retractable blade knife
Also required :
- Pencil
- Pliers
- Metal scissors
- Screwdriver
- Power saw (table saw, circular saw or banc de scie, scie circulaire or sabre saw)
Preparation
While taking into account the important aspects (pipes, wires, conduits and other), determine the ideal height of the ceiling. Ideally, you should allow between 10 and 15 cm (4 to 6 inches) of clearance between the joists and the trellis of the ceiling to ensure that the tiles can be inserted. Using the level, mark the proper height in several places around the perimeter of the room.
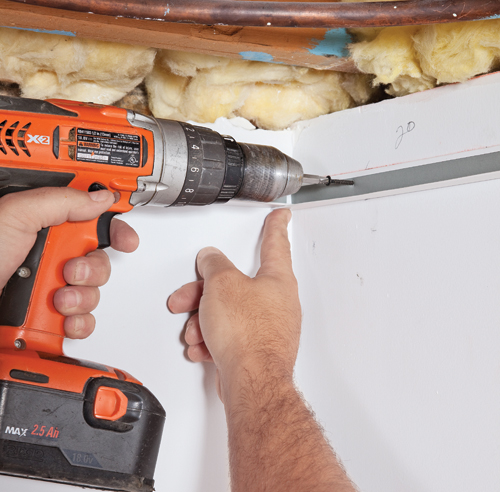
1. Attach the corner moldings (L-shaped rails) with the gypse screws right underneath the marks you made along the walls. To plan the installation of the main Ts, divide the ceiling area into 48 in rows perpendicular to the joists. Transfer any incomplete rows to the edges of the room. For example, a 26-foot long wall would be divided into six equal 48-inch rows, leaving the last 24-inches to be divided into two 12-inch rows on each side of the room.
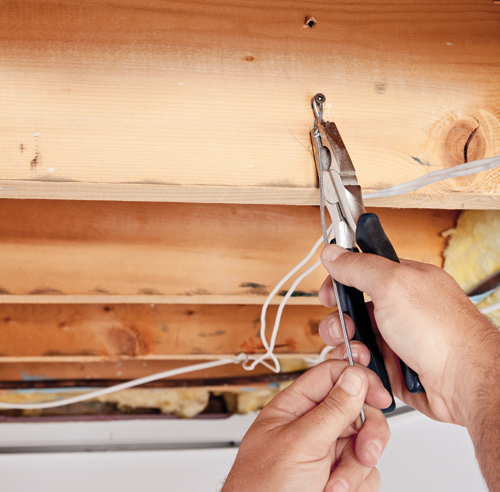
2. Insert screws into every two or three joists, along the 48 in rows you made in the first step. Leave the heads of the screws protruding 1/2 in (1 cm) so that they can serve as hooks. Twist an iron wire around the end of the screws with pliers to ensure its solidity. To plan the installation of the secondary Ts, divide the ceiling area into 24 in rows parallel to the joists. Again, transfer any incomplete rows to the edges of the room.
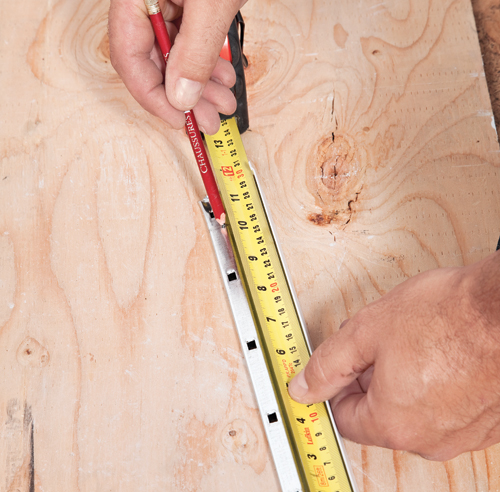
3. Cut the main Ts with metal scissors to adjust them to the length of the ceiling. To ensure that the main and secondary T holes match up where they meet, take your measurements from one of the T slots.
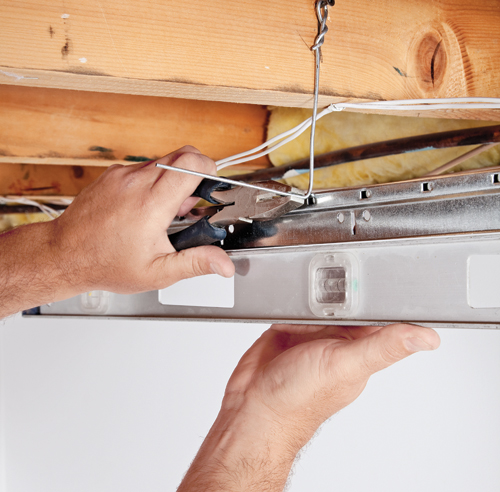
4. Press the end of the first main T onto the corner molding and hang it to the other end of the room using the wires. To do this, place the T straight with the level, then, with the pliers, bend the wire 90° to the necessary height. Insert the wire into one of the top T holes and tie the end of the wire to itself. Do the same to install all the main Ts.
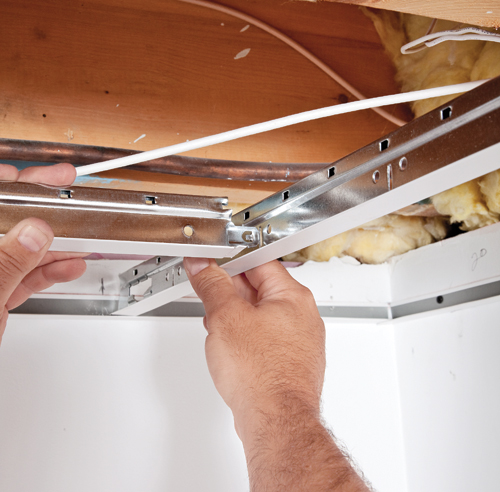
5. Install the secondary Ts (48 in long) every 24 in, perpendicular to the main rails, inserting their ends into the slots provided for this exact purpose. Finish the installation of the secondary Ts, finishing with the uneven rows at each end of the ceiling.
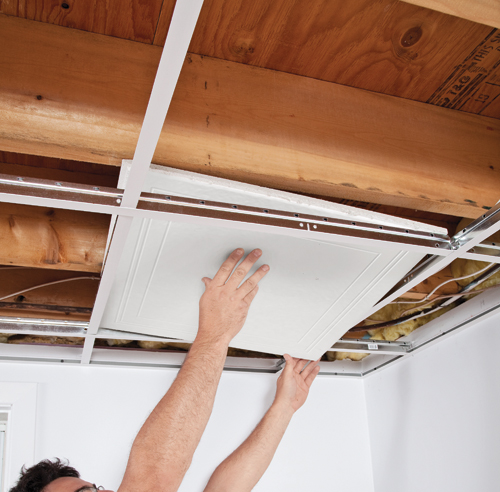
6. Insert the entire tiles between the rails and place them on the edges of the Ts. Using an electric saw, cut the tiles that will be along the walls to the correct size. Always cut the tiles with the finished side face down. Do the same with all the tiles by cutting and inserting them to finish the ceiling.
Tiles: Quatro suspended ceiling tiles, Encore n° PANQ22E-White model, murdesign.com